Manage Asset
What is Manage Asset?
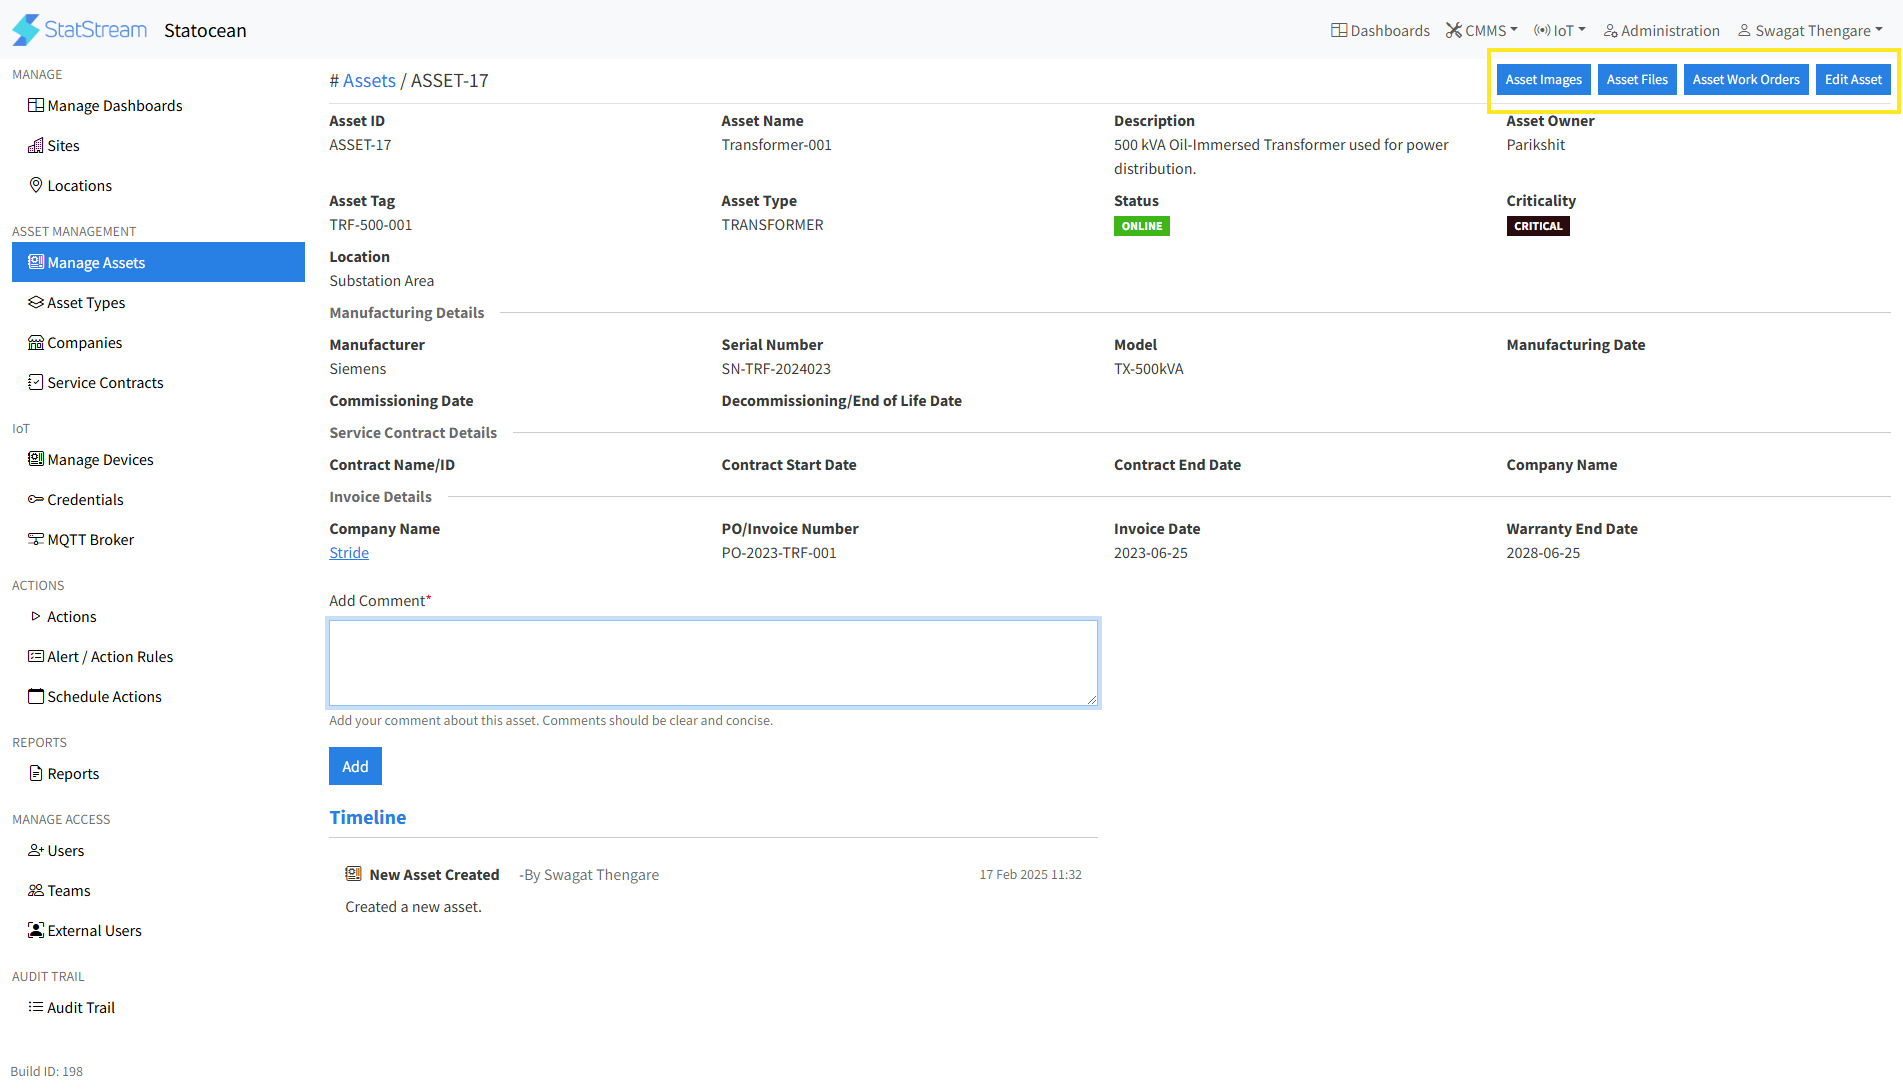
Manage Asset refers to the various operations that can be performed on an asset within StatStream. These operations include updating, tracking, and managing assets to ensure optimal performance and maintenance. Key operations include:
- Adding images, files, and documentation related to the asset.
- Viewing and managing work orders associated with the asset.
- Tracking the asset's timeline and maintenance history.
- Adding comments or notes for better collaboration and documentation.
Understanding the Asset Hierarchy
An asset hierarchy facilitates efficient management and maintenance by organizing information and clarifying the relationships between parent assets and their child assets.
-
Go to the Administration tab in the top navigation bar.
-
Click on Manage Assets in the left sidebar.
-
Select the Asset you want to add to your asset hierarchy.
-
Click on Edit Asset on the right-top corner of the asset information page.
-
Select the Parent Asset from the drop-down list in the form.
-
Click the Save button at the end of the form.
-
To view the asset hierarchy:
- For individual asset/s :
- Click on the intended asset.
- Click on the Asset Hierarchy option at the top.
- All assets (in a workspace) :
- Naviagte to Manage Assets in the left sidebar.
- Click on hierarchy icon at the top and below the navigation bar (left of Download CSV button).
- Click on the Asset Hierarchy dropdown list.
- Select All Assets option. ( It also provides a list of all the individual assets present in the workspace to view hierarchy of individual assets)

- For individual asset/s :
How to Perform Various Operations to Manage Asset
In StatStream, you can perform multiple operations to manage an asset effectively. Below are the steps to perform these operations:
Access the Asset Management Page
- Go to the Administration tab in the top navigation bar.
- Click on Manage Assets in the left sidebar.
- Select the Asset you want to manage.
1. Add Images to an Asset
- On the Asset Details page, click on Asset Images.
- Choose the image you want to upload.
- Click on the Save button.
2. Upload Asset-Related Files and Documentation��
- On the Asset Details page, click on Asset Files.
- Select the file in various formats (e.g.,
.pdf,.docx,.xlsx) such as manuals, warranties, or inspection reports. - Add a description and click on the Save button.
3. View Work Orders Related to an Asset
- On the Asset Details page, click on Asset Work Orders.
- View all work orders associated with the asset, including Open, In-Progress, On-Hold, and Done.
4. Understanding Asset Depreciation
Depreciation is referred to as a decrease in the economic value of an asset over its useful life. The systematic accounting for this decline is crucial for accurate financial reporting and informed capital asset management decisions.
-
In the Manage Assets section, click on the intended asset or create a new asset.
-
Click on the Edit Asset button (for already existing asset).
-
Fill in the following details :
- Asset Cost:Enter the cost of the asset.
- Salvage Value:It is referred to as the worth or the asset at the end of its useful life.
- Useful life:Expected useful life of the asset (in years)
- Depreciation Rate:Referred to as the annual percentage by which the value of the asset decreases over time (in %).
- Depreciation Method:Select the depreciation method for the asset.
- There are 3 methods to calculate the depreciation value of the asset :
- Straight Line method: Shows a consistent, equal loss of asset value yearly, simplifying financial forecasting.
- Declining Balance method: Shows a greater initial loss of asset value, offering a more conservative early financial picture.
- Sum of the Year's Digit method: Shows a larger early loss that gradually reduces, providing a balanced view of asset value decline over time.
- There are 3 methods to calculate the depreciation value of the asset :
-
Click on the Save button.
-
Scroll down the Asset information page and click on Asset Depreciation tab to view the calculated depreciation value table.
Note: The depreciation rate cannot be calculated without the Asset's Invoice date.
5. View Asset Timeline
- On the Asset Details page, scroll down to the Timeline section.
- View the asset's maintenance history, including repairs, inspections, and updates.
6. Add Comments to an Asset
- On the Asset Details page, scroll to the Comments section.
- Add comments or notes related to the asset (e.g., observations, issues, or updates).
- Save the comments for future reference.
Note: These operations help in maintaining a comprehensive record of the asset, improving collaboration, and ensuring efficient maintenance management.